CARVING AND KILN-WORKING:
Most projects begin with a 12mm thick panel of glass.
Glass can be clear, or a specialty frit-coated ( frost-appearance or a solid colour ).
12mm provides enough material to sculpt and is reasonable to work with in a kiln.
The specialty frit-coated glass arrives in tempered form, which cannot be carved. In this case, we will ‘de-temper’ it with a preliminary kiln firing.
Regular (annealed) glass, or this ‘de-tempered’ specialty glass, can now be carved.
THE PENCIL & KNIFE STUFF:
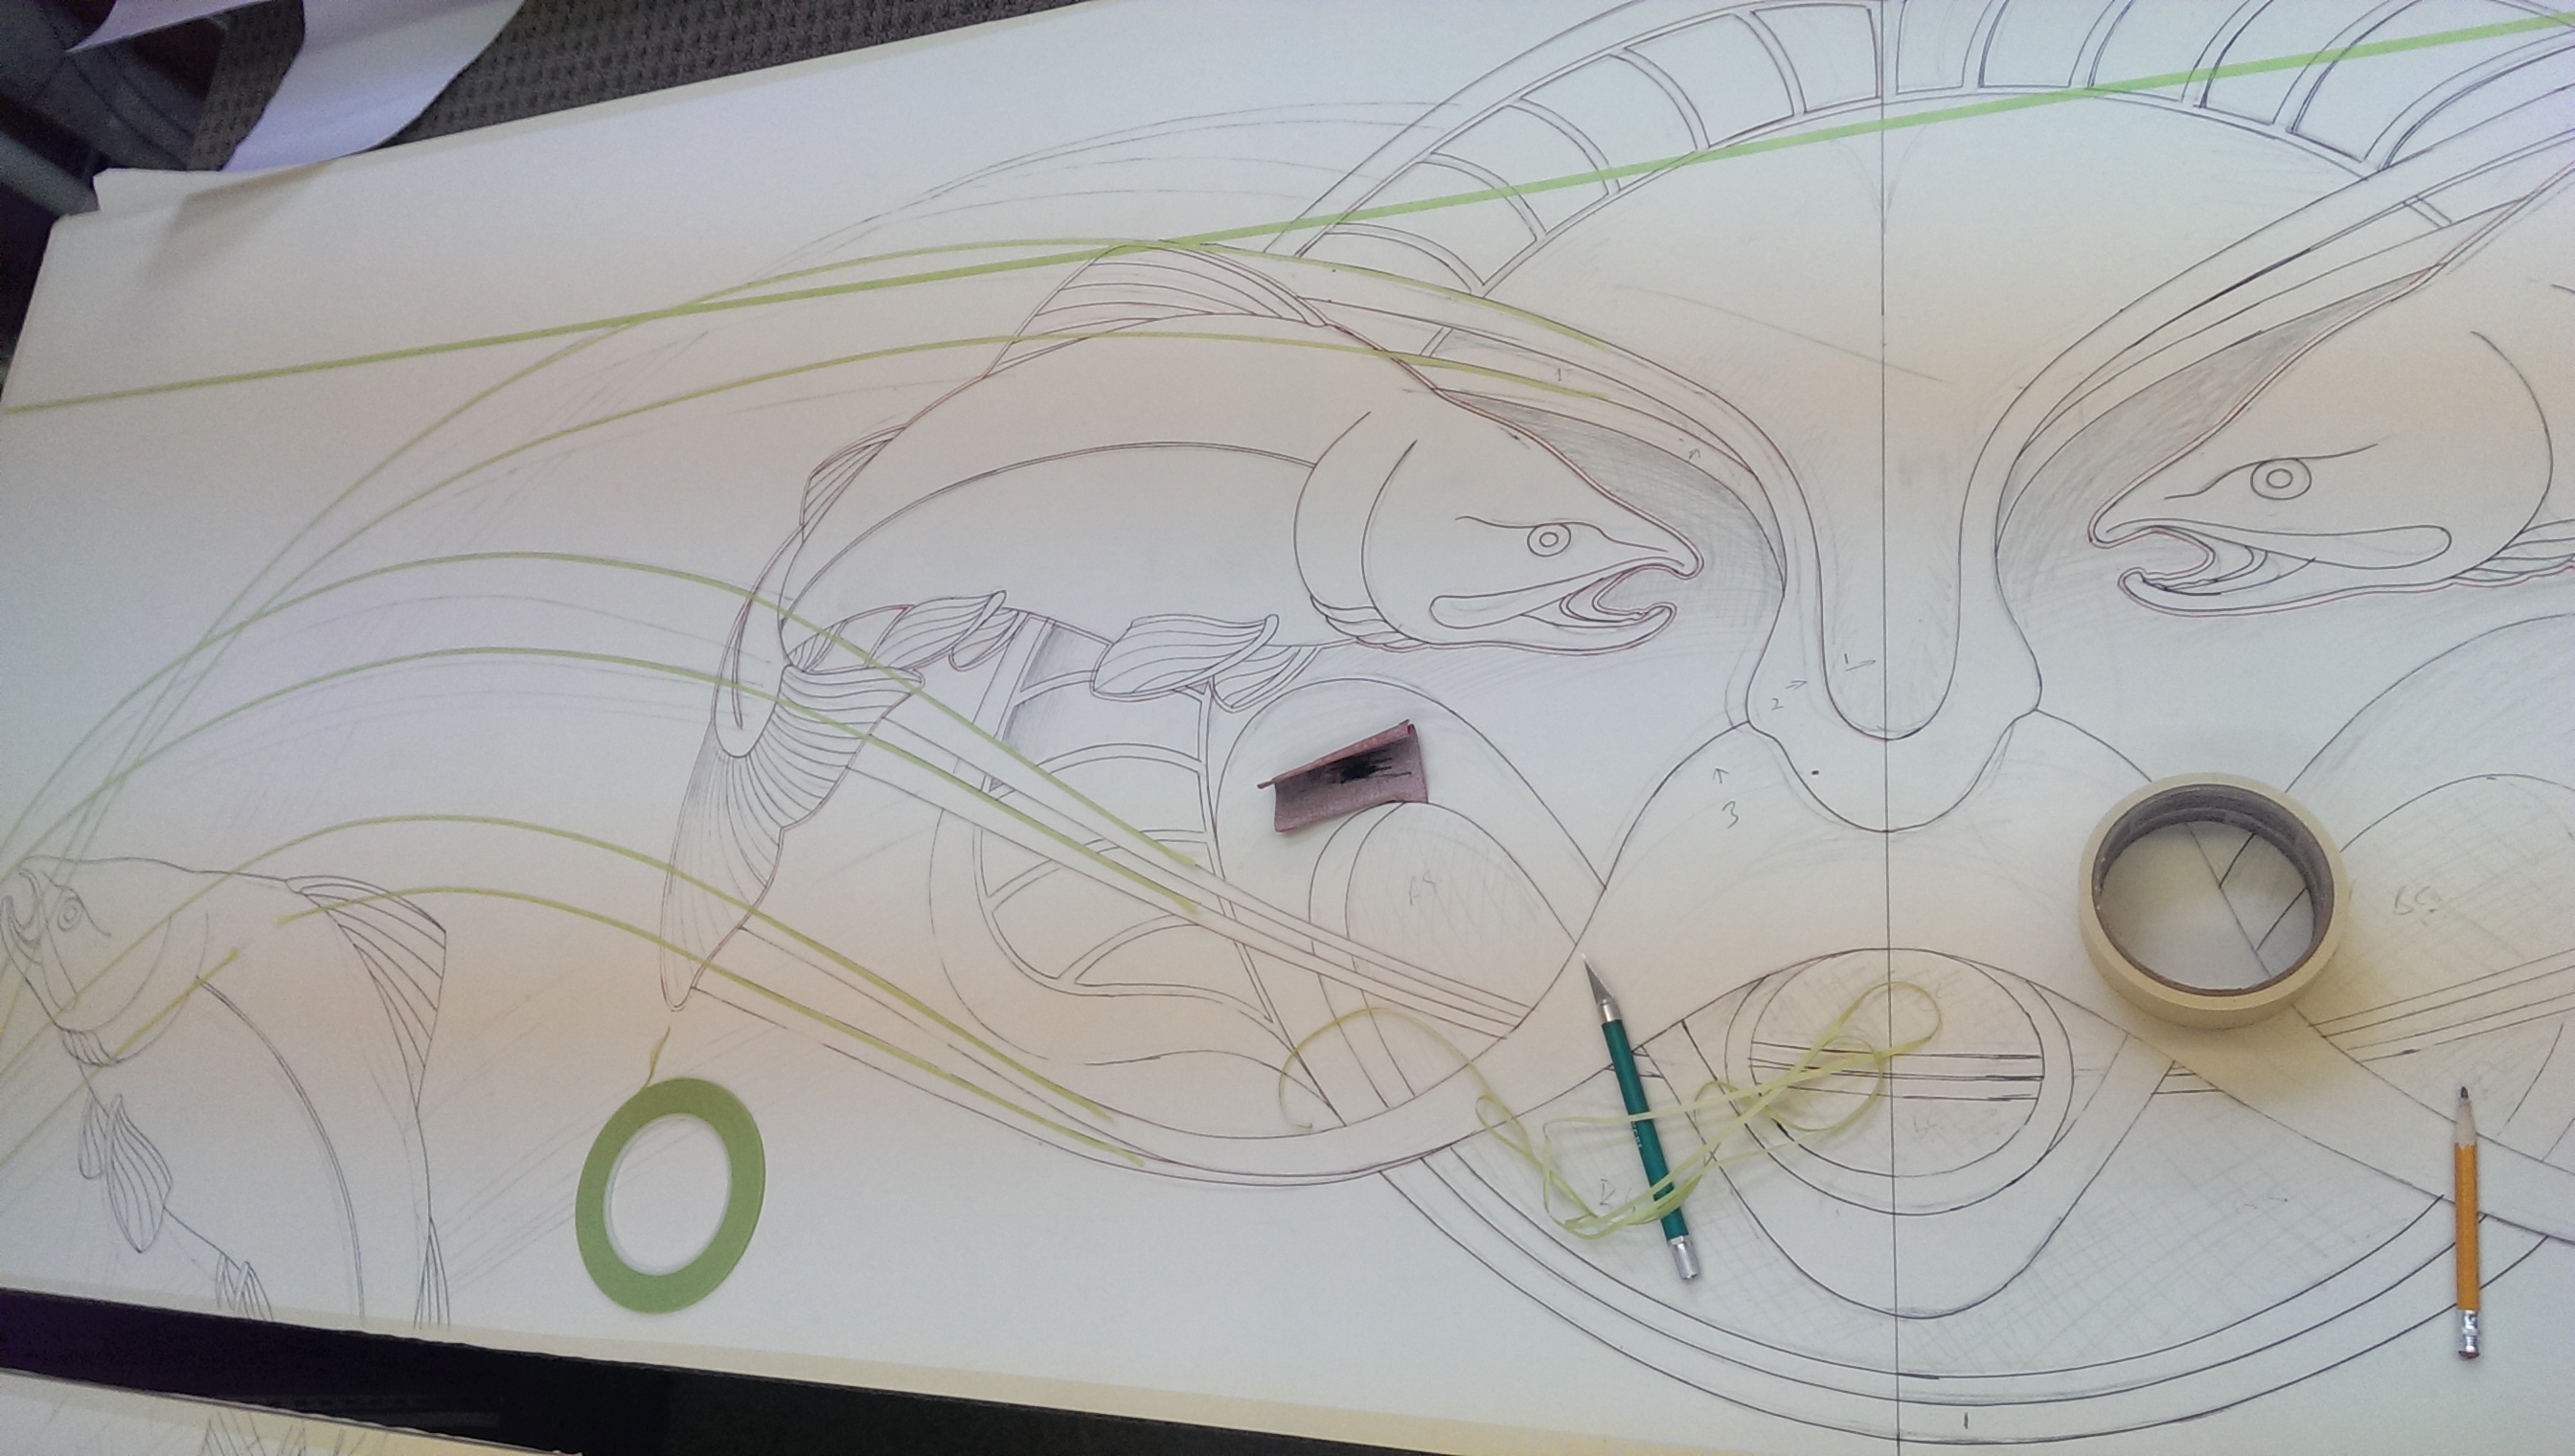
All carving is done using a resist material, which is either cut by hand or on a plotter, and then carved using abrasive blasting inside an enclosed booth.
THE DUSTY STUFF:
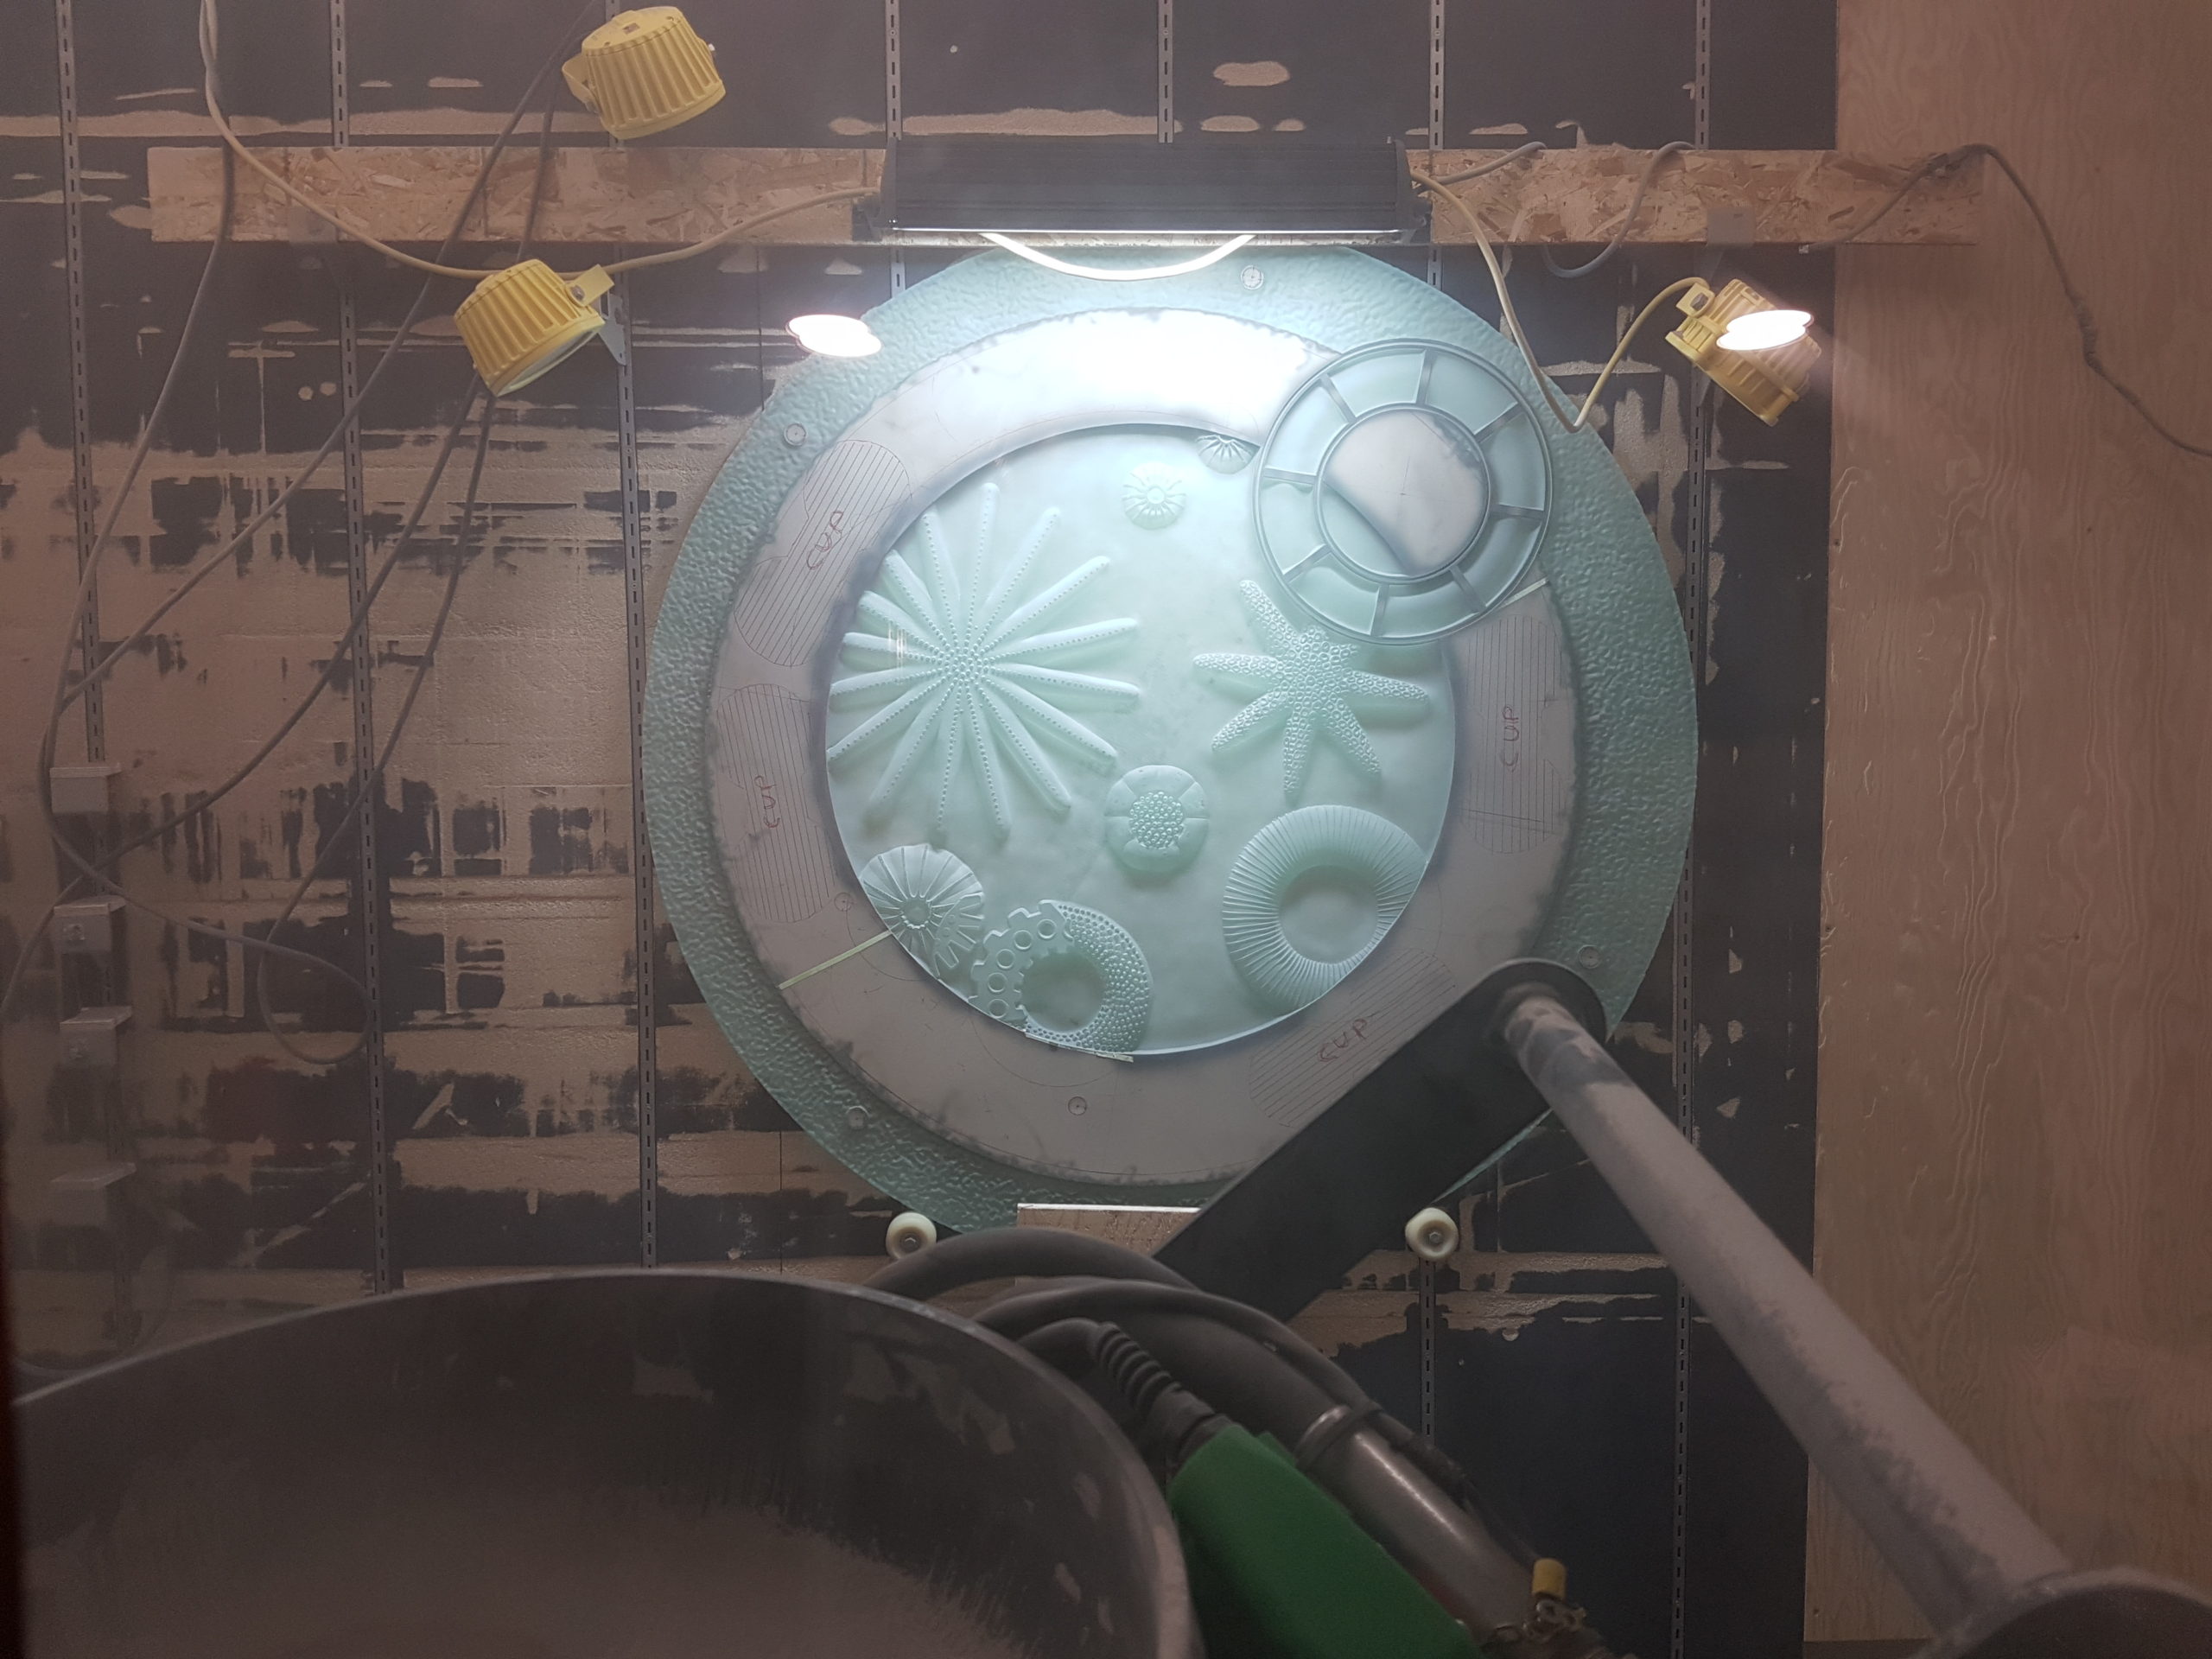
I use an abrasive blaster and stagger the removal of the resist to create depth to the carving. Its dusty and dangerous so I wear a suit and air-supplied helmet.
THE HOTTING UP STUFF:
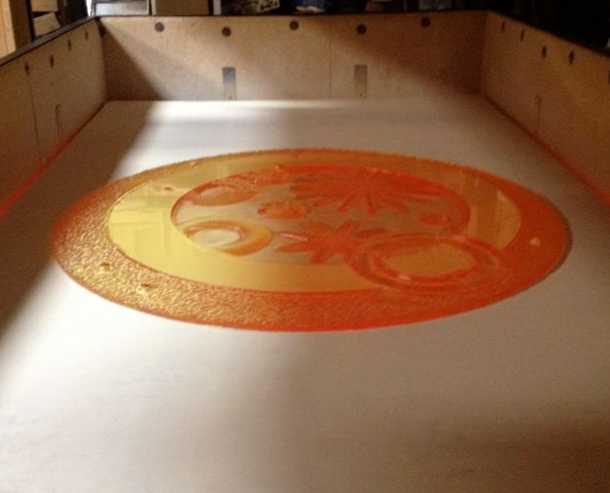
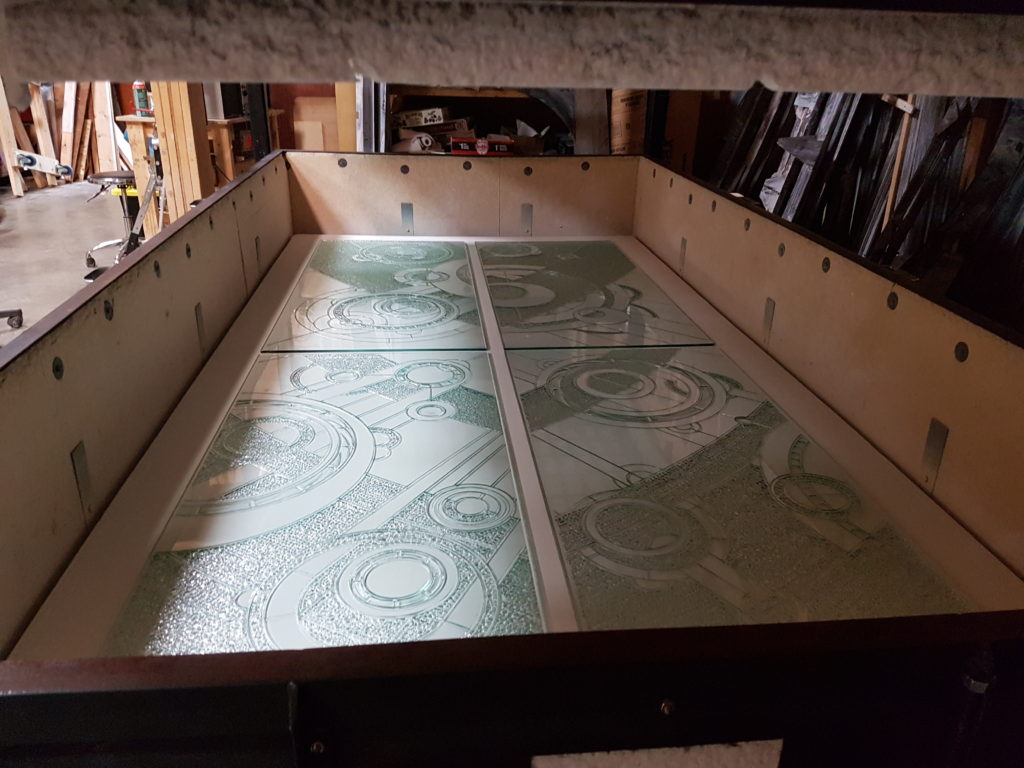
The carved glass is now technically stressed, so receives a ‘re-anneal’ firing in the kiln.
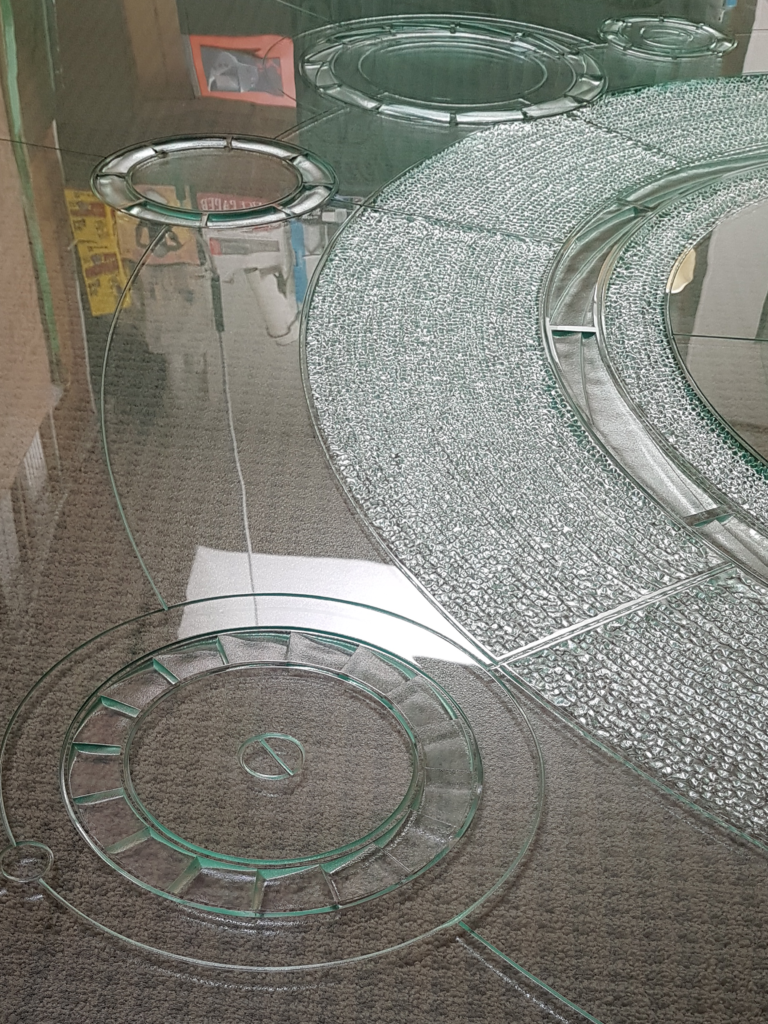
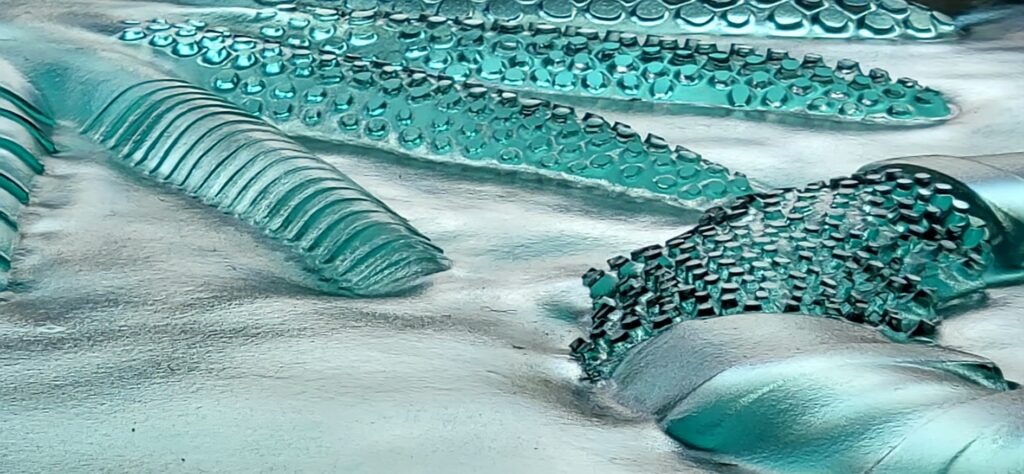
This is also where we achieve bends, fire-finishes/polishes, and cast textures.
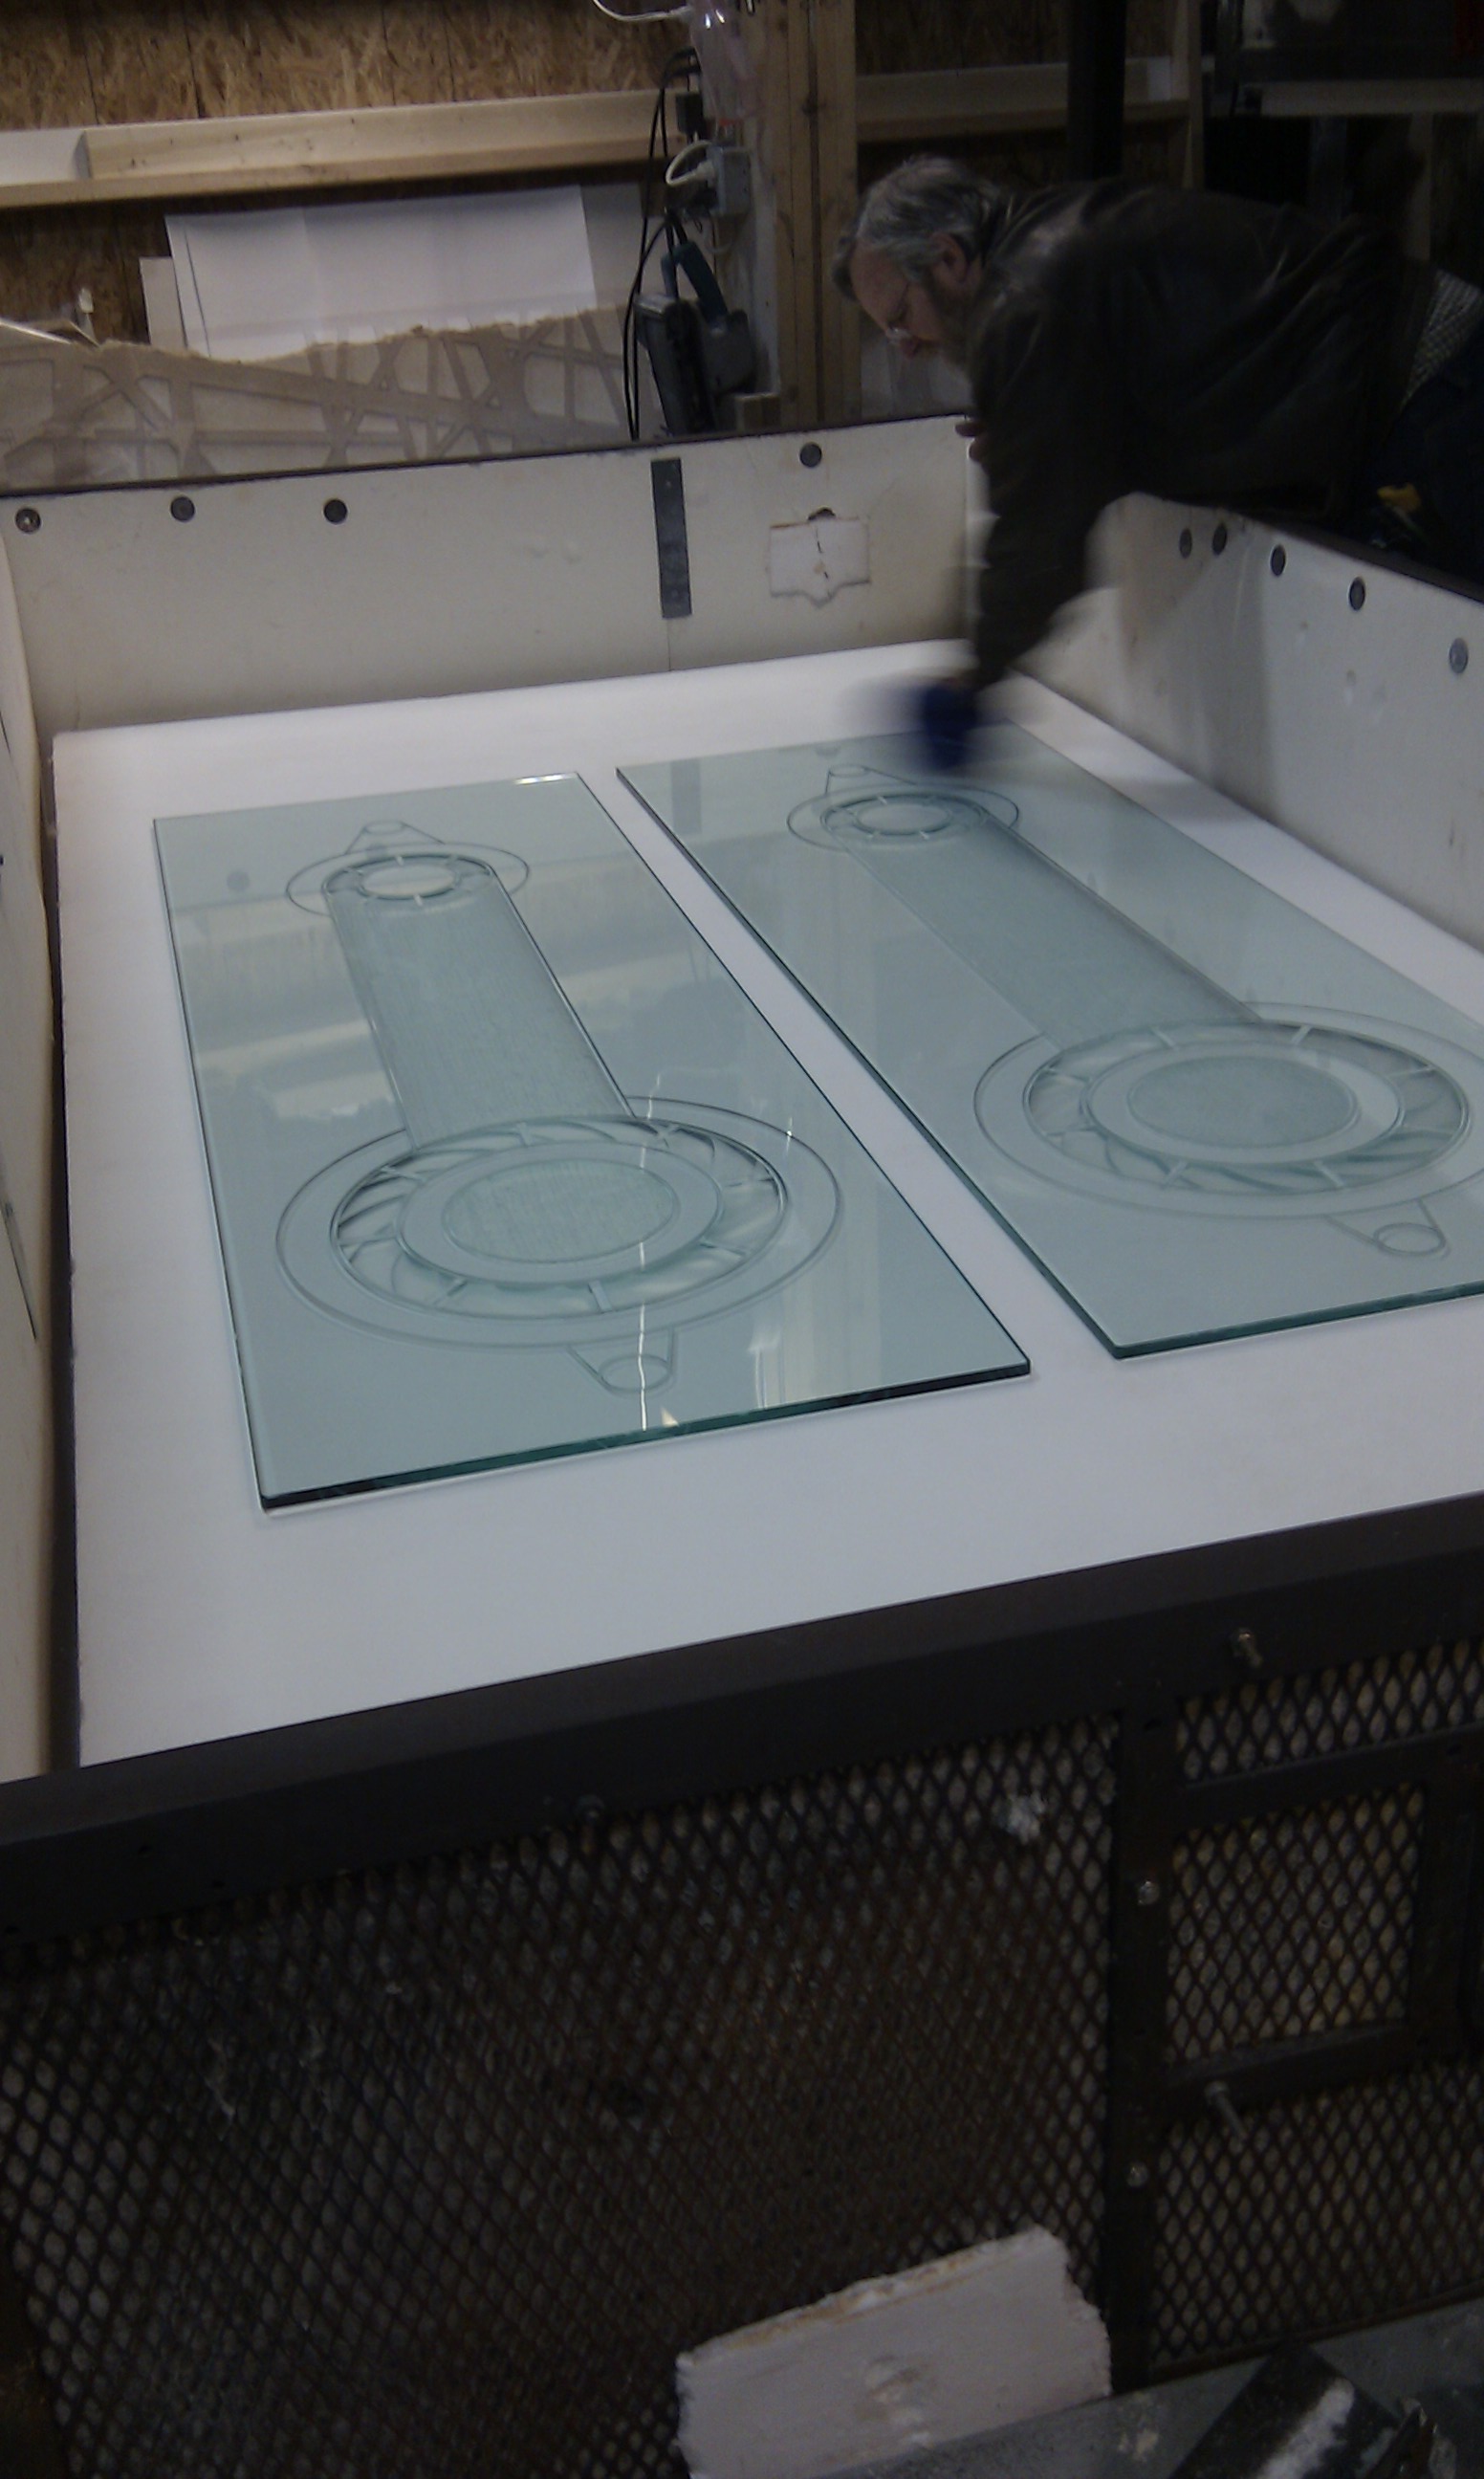
The kiln was built (by Brian – pictured) to maximize fine temperature control for the glass.
THE OTHER STUFF:
Following a ‘re-anneal’, the glass can now be sent for tempering (at another facility), which will strengthen the material, meeting safety/building code requirements.
The panel can also be laminated using clear, or coloured laminate, for aesthetic or safety purposes.
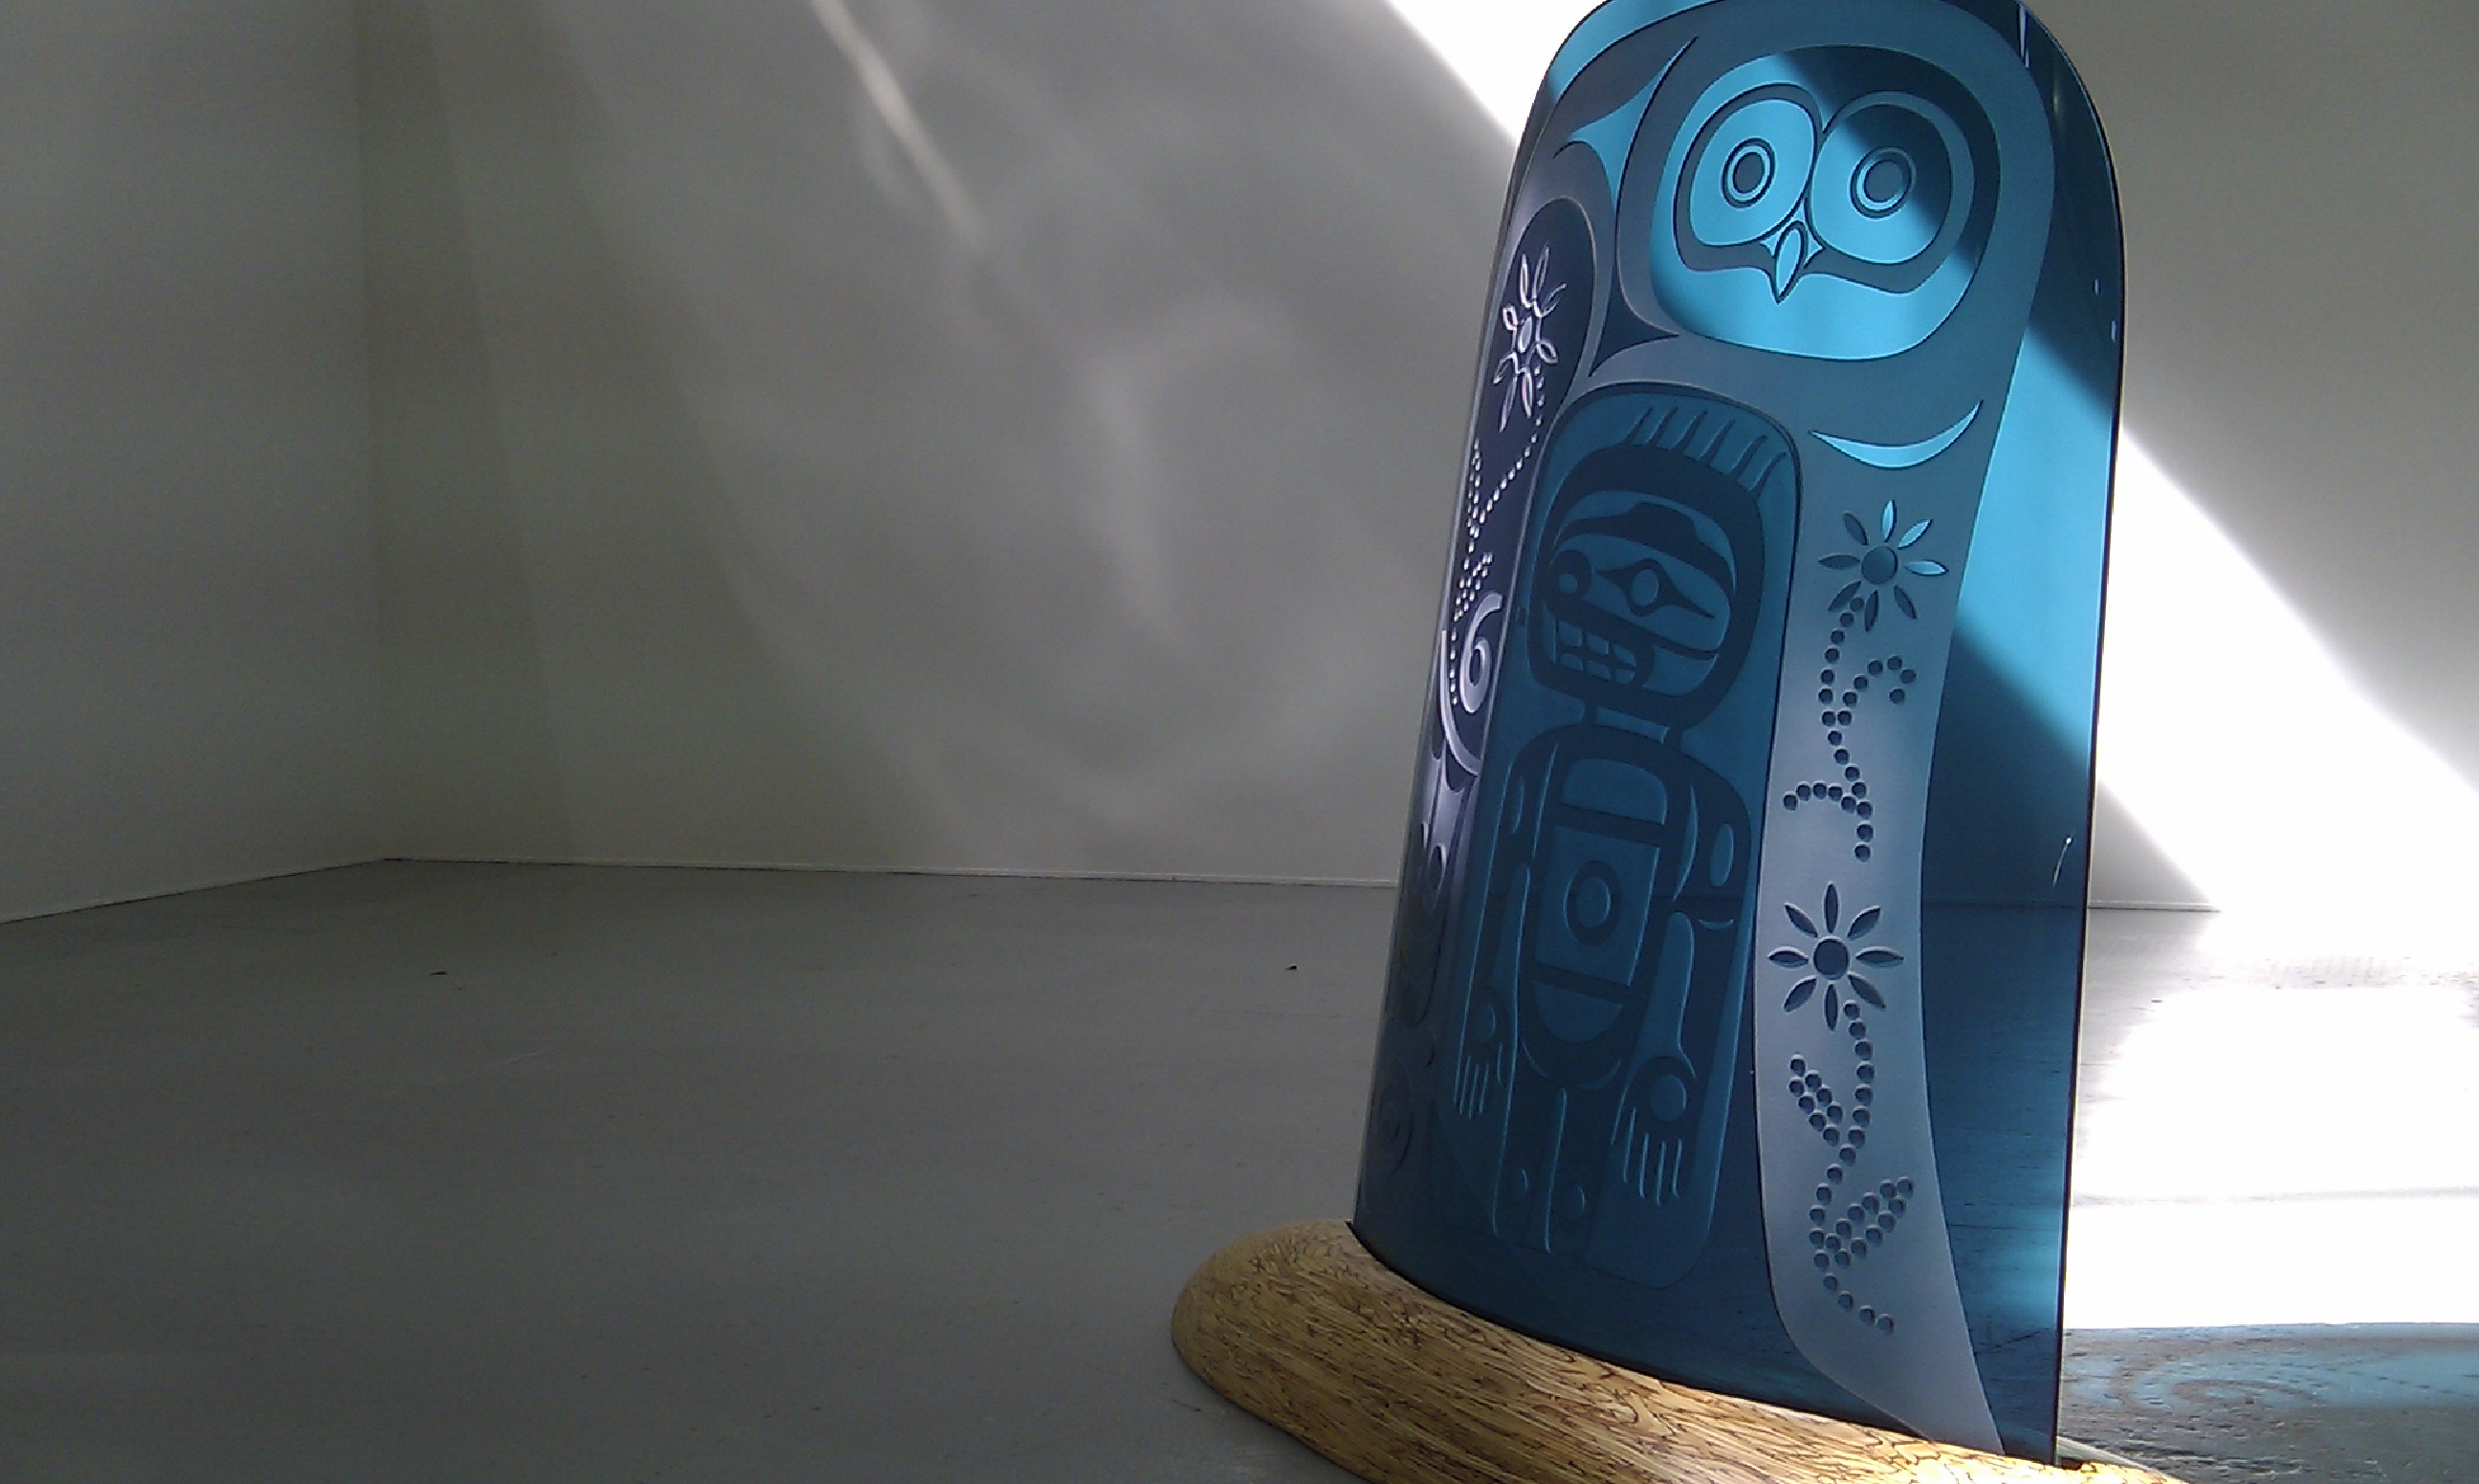
The kiln setup is primarily a glass bending operation, specializing in difficult projects that require expertise using this very controllable, purpose-built oven.
Therefore, we are not limited to producing flat panels… curves and bends + lamination.
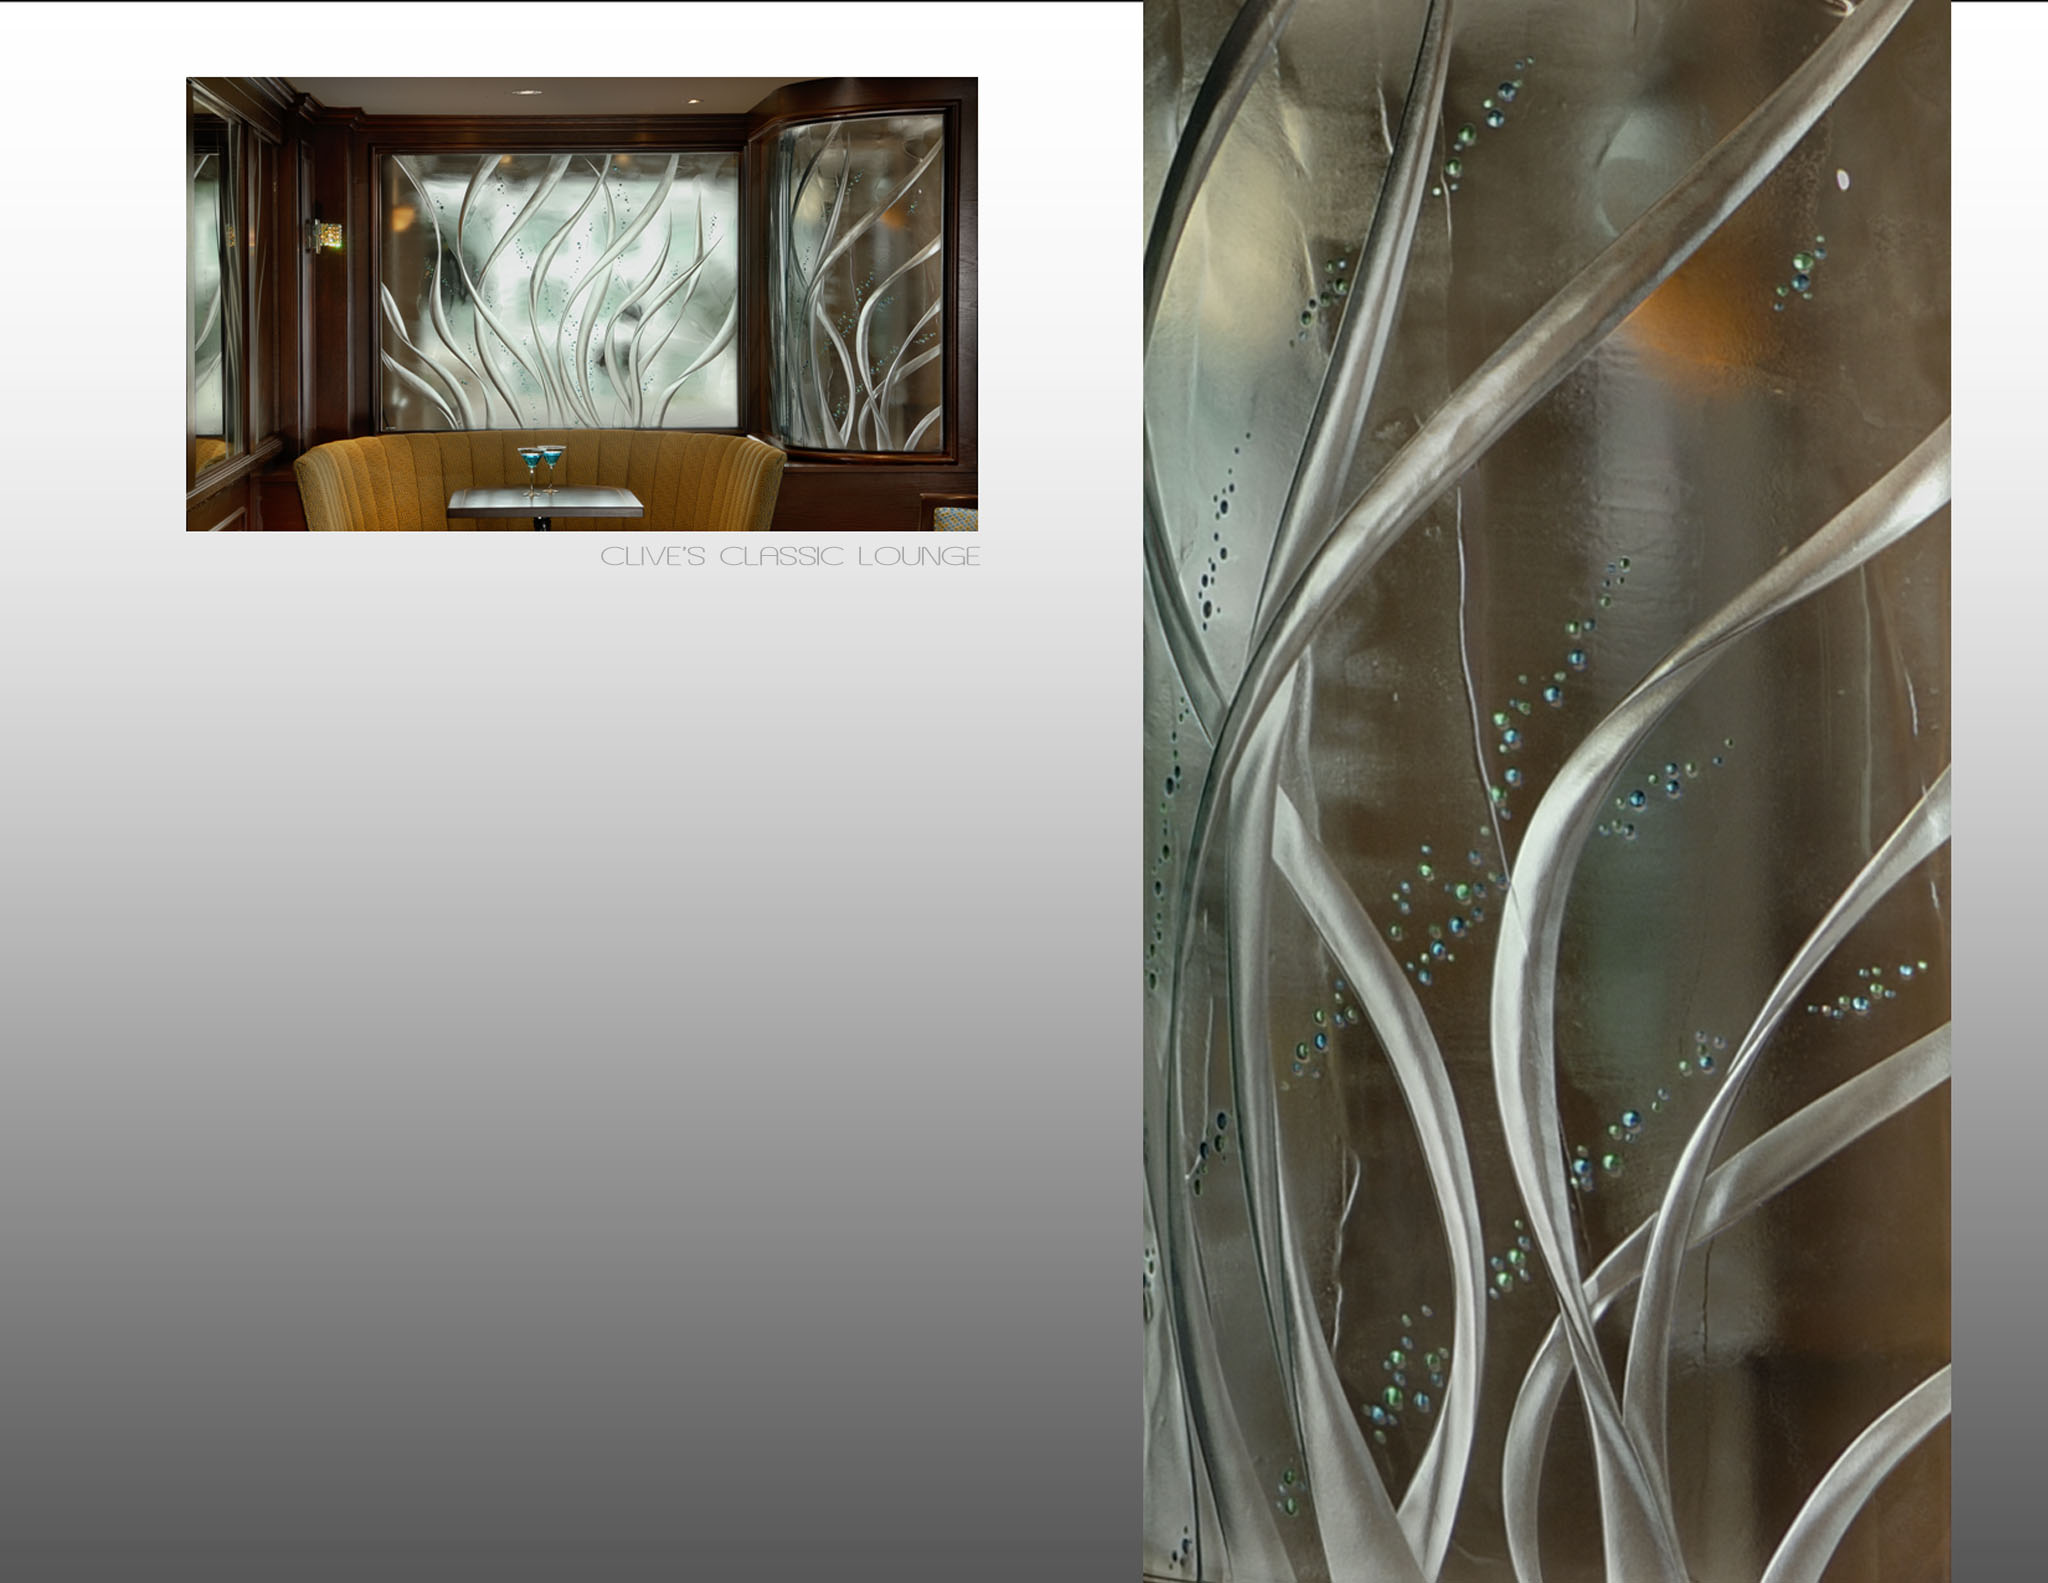
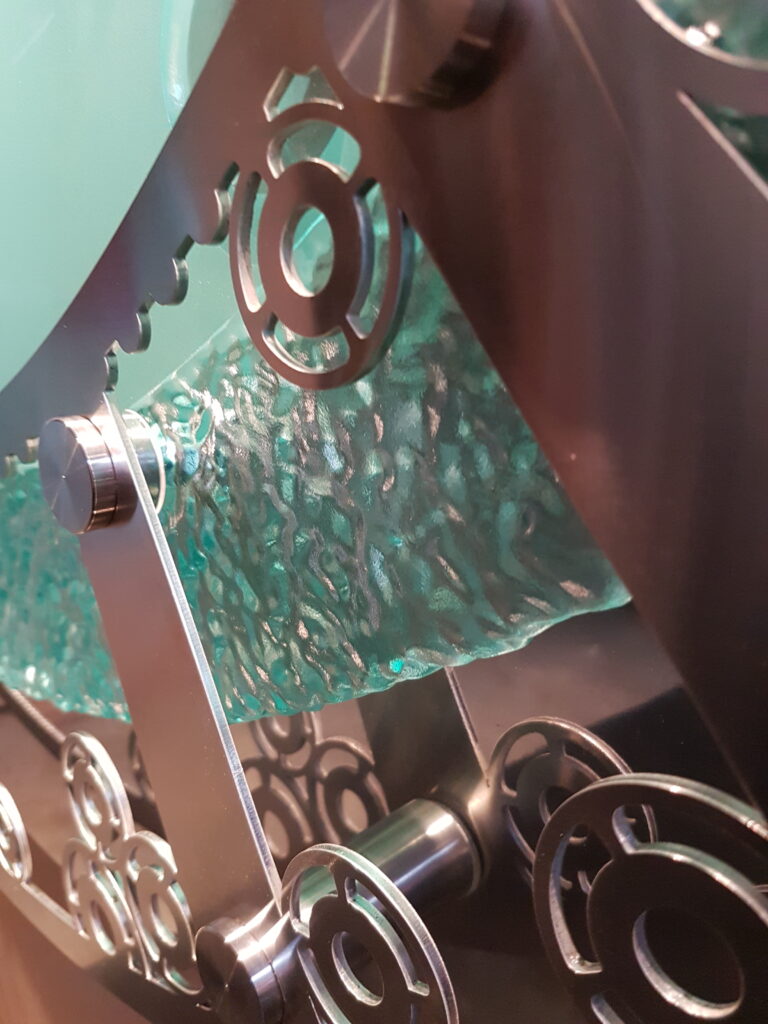
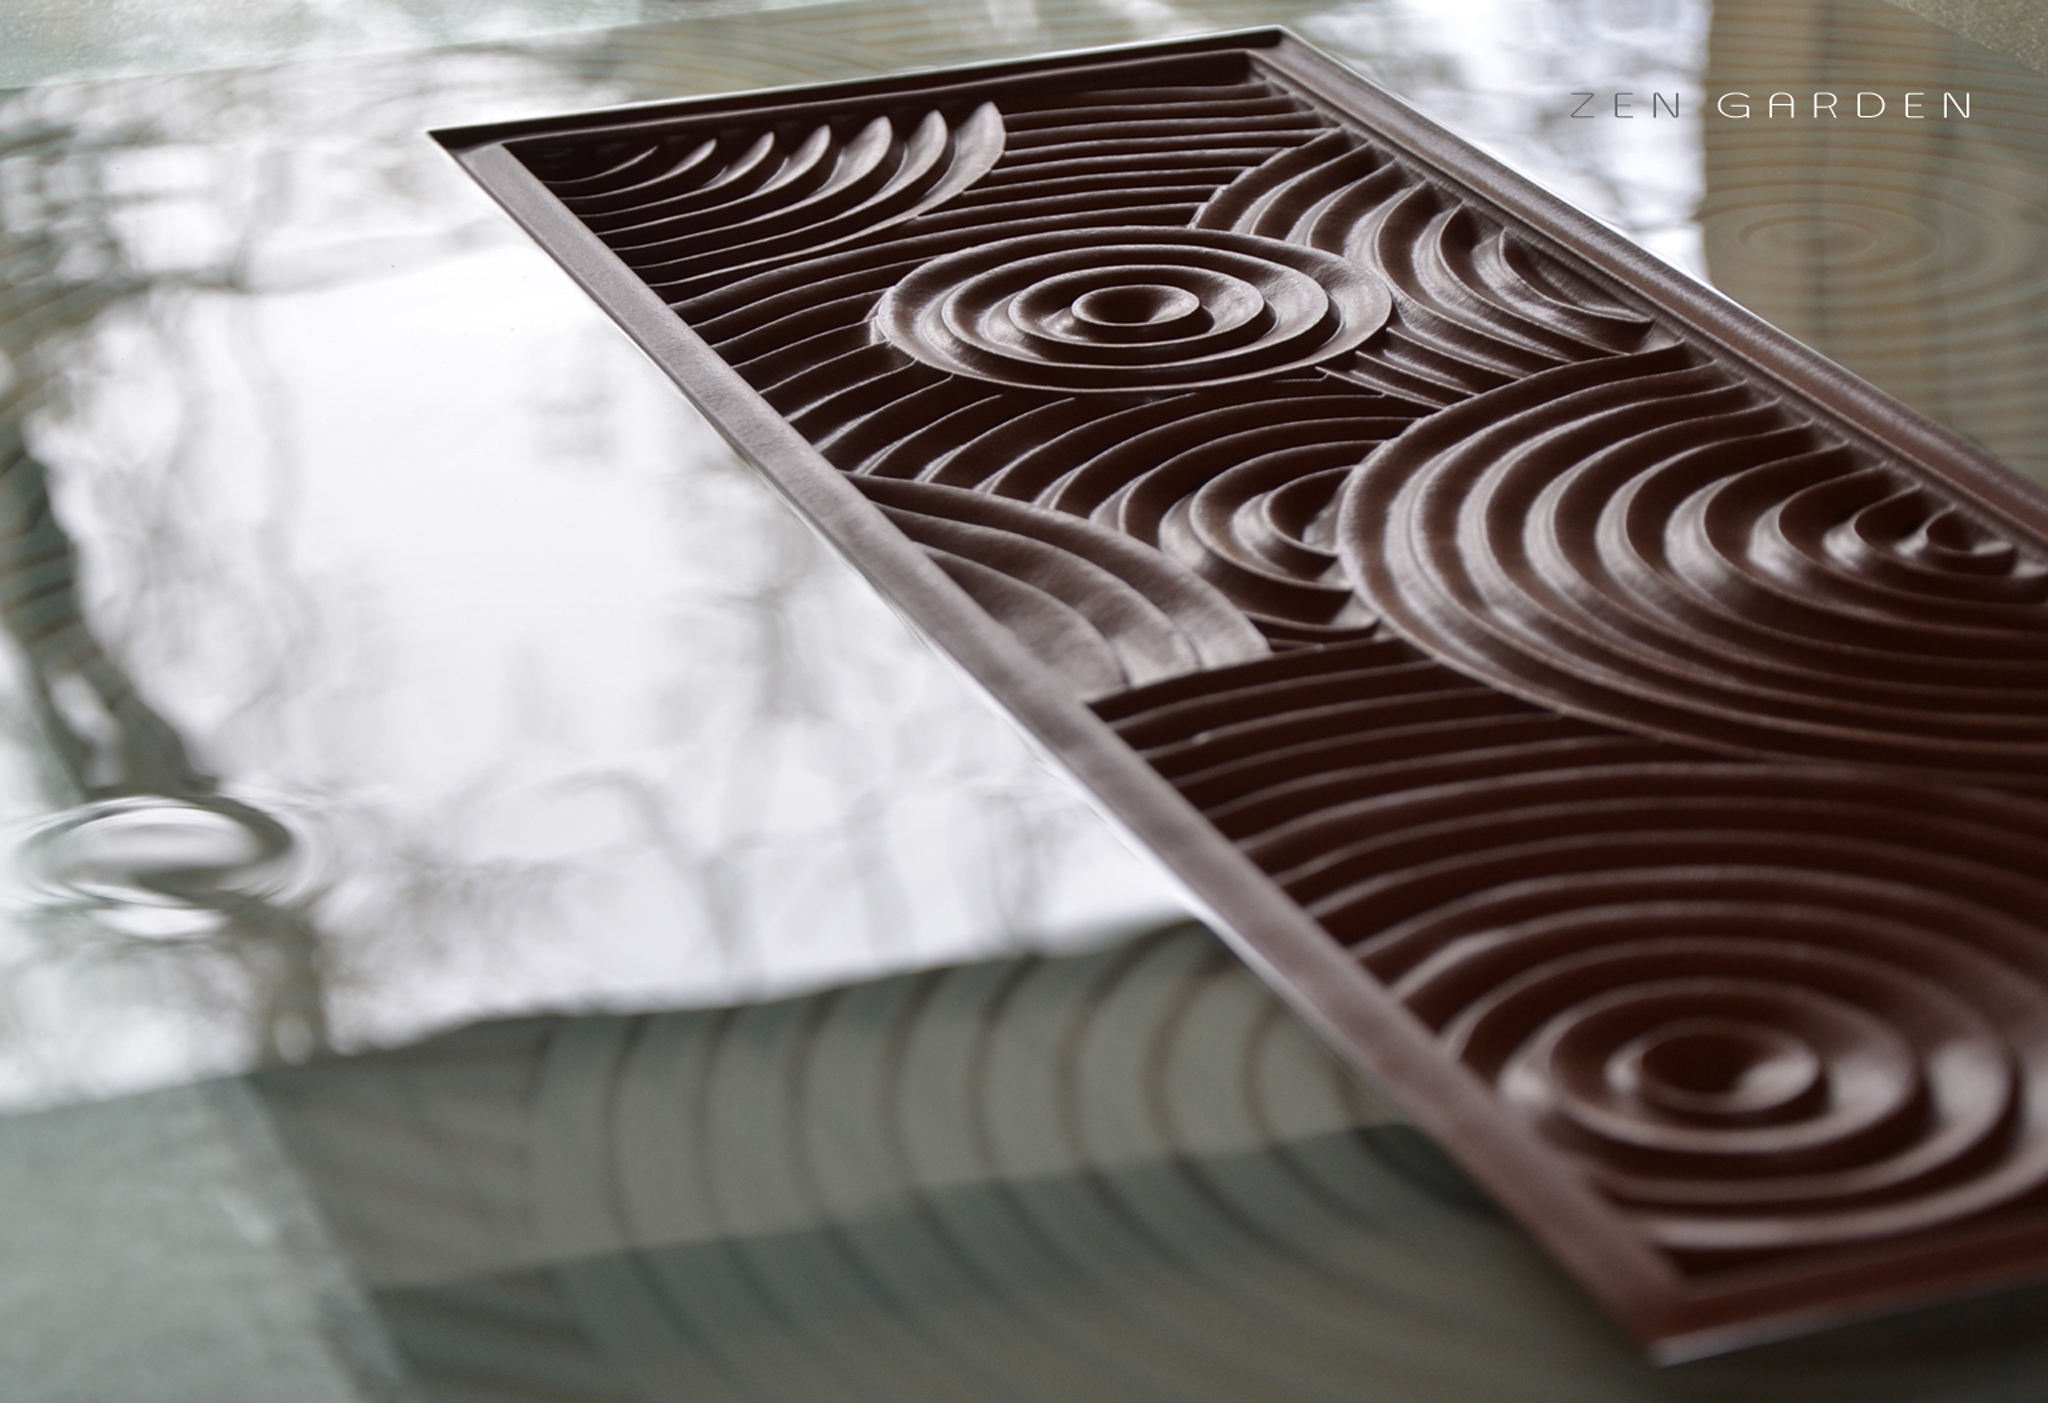
A couple of examples showing kiln-fired, carved glass:
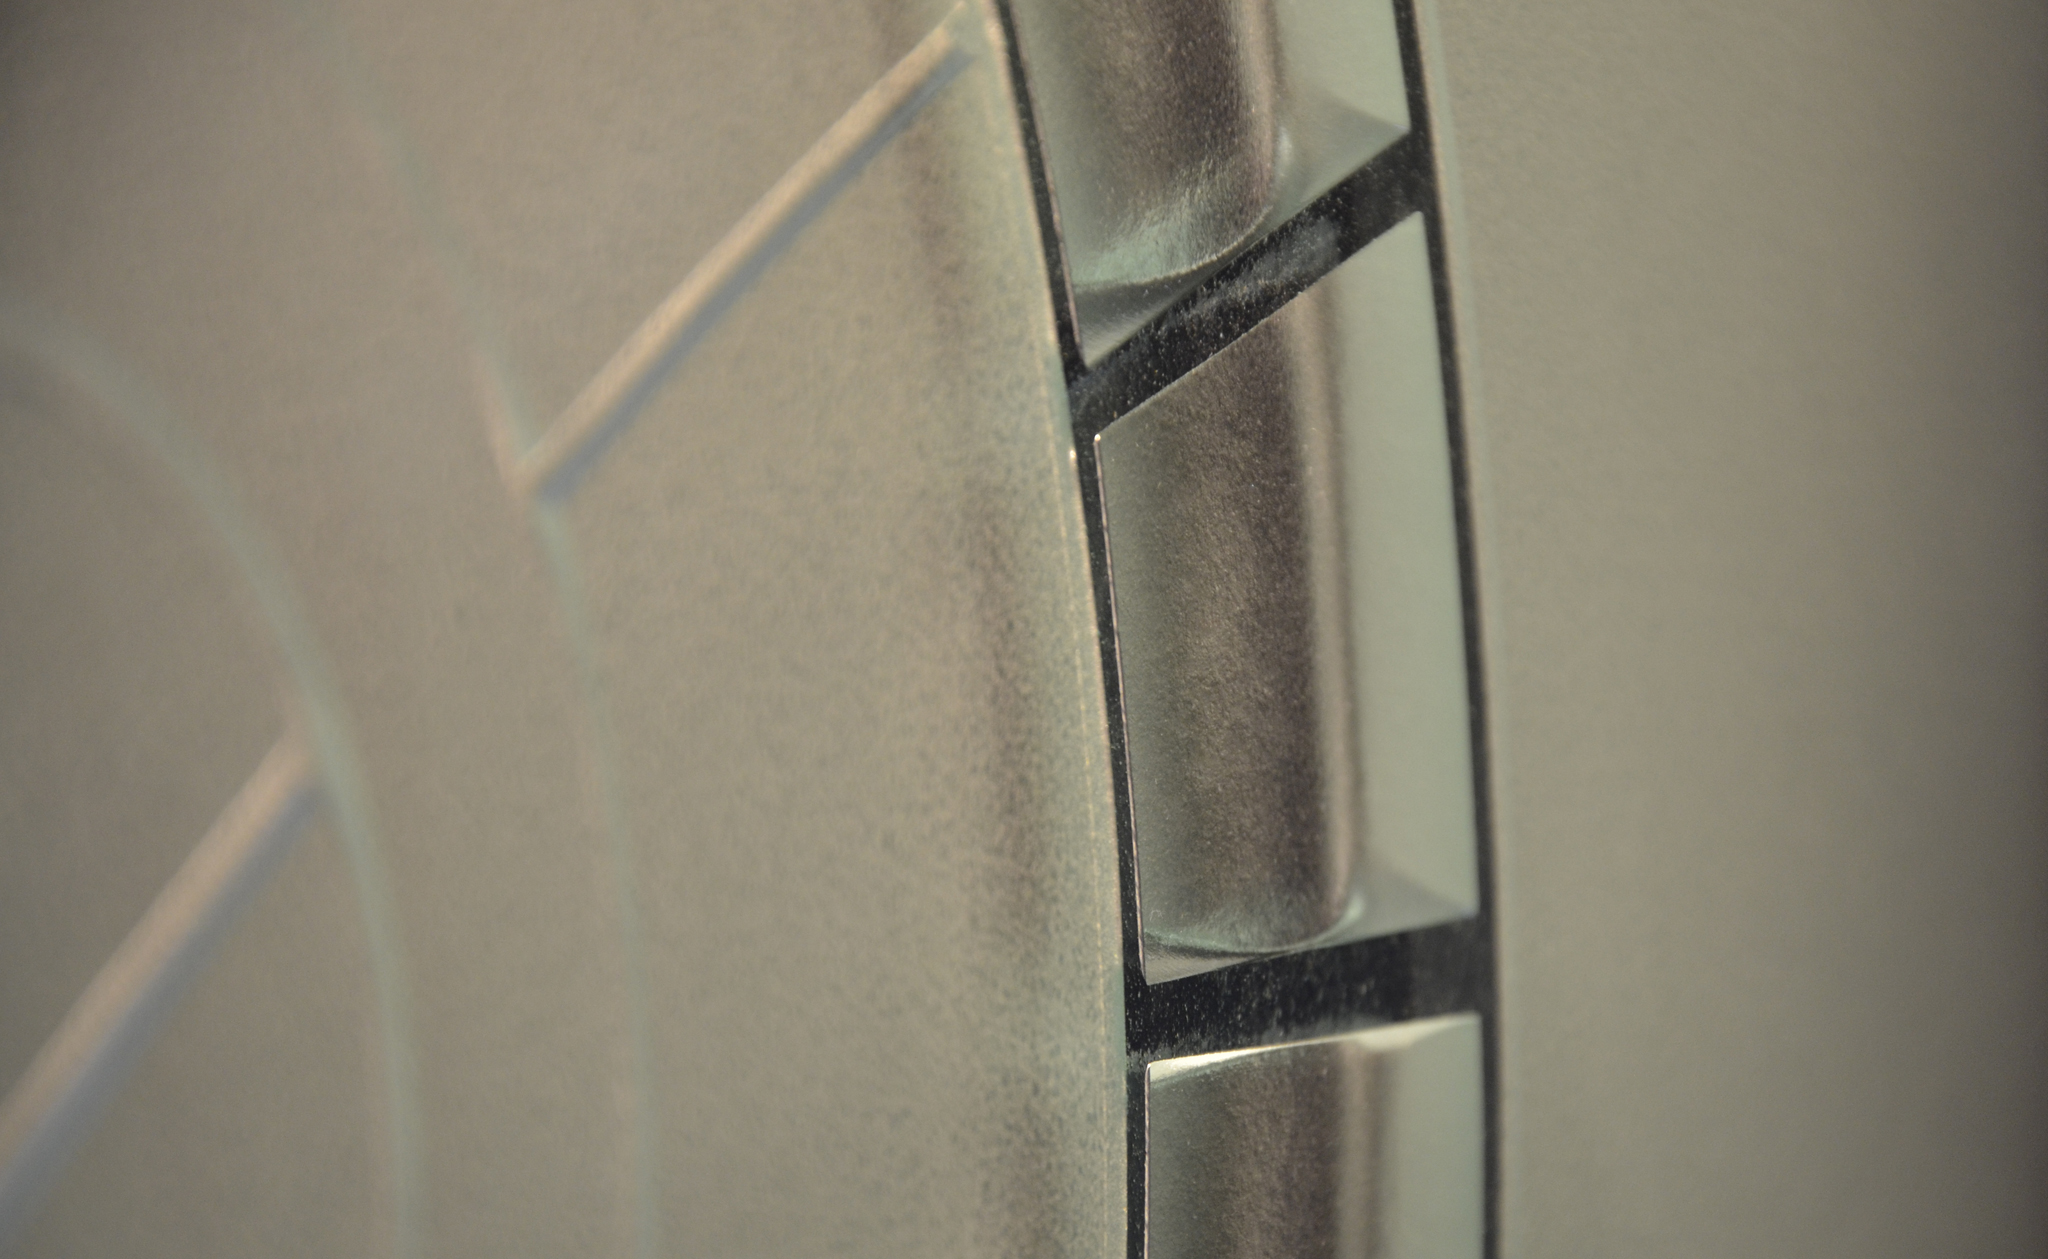
A bespoke stainless steel and polished aluminum mounting system is part of this design:
